Get the Metal Detector first
The Projector Remote is buried, so this route cannot be completed until you have the Metal Detector from Timesville. Keep it when you return to Misery Town. The Metal Detector prerequisites cover the Telescope and fossil-shack setup.
The movie tent is the theater near the Circus entrance with eight colored seats and the film clue used by the earlier Whack-a-Mole sequence.
Dig up the Projector Remote
Enter the Misery Town movie tent and use the Metal Detector on the sandy floor. Search inside the theater rather than the exterior path. The buried item is the Projector Remote.
If nothing appears, verify that you are in the colored-seat movie tent and that the Metal Detector is selected as the active inventory item.
Reveal and save the hidden map
Use the Projector Remote on the projector or screen. The new image is a path map for the black-and-white checkerboard or mime room.
The original all-endings walkthrough ↗ directs players to capture the projection and use it in the Hands room. This community screenshot shows the actual projection. Read the red line from its bottom edge toward the arrow at the top; do not start at the arrow or mirror the image.
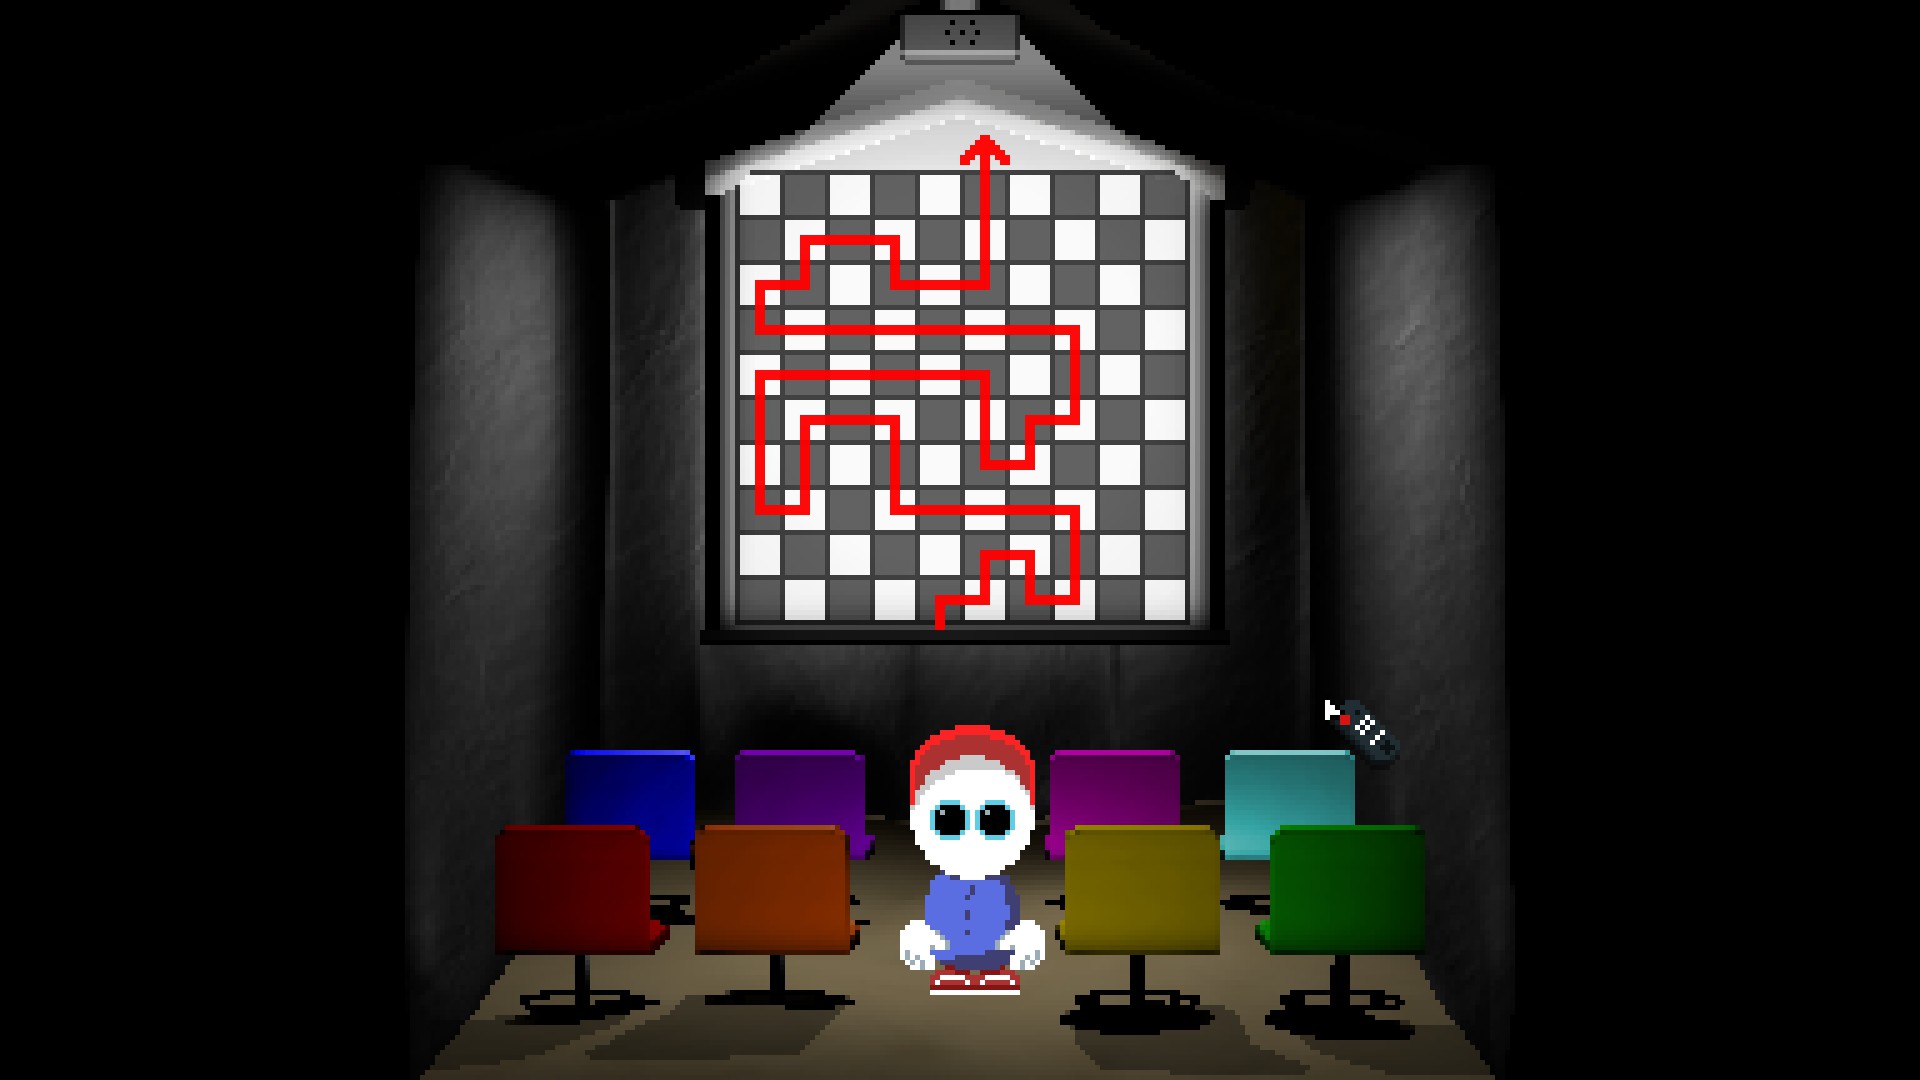
Before leaving the theater, keep a screenshot of the whole projection, including its edges. You will use that image in another room; the remote does not open the passage by itself.
| Check | What to compare |
|---|---|
| Correct image | The projector now shows a route map, rather than its normal film. |
| Correct room | Start in the black-and-white checkerboard room where you found the Hands, not inside the theater. |
| Correct position | Start again at the room entrance after a failed attempt; compare the next stretch with your captured map. |
Follow the checkerboard route
- Start at the entrance of the black-and-white mime room, the room used to retrieve the Hands, near the blue clown. The theater and this room are different locations.
- Keep your captured projector map beside the game and follow its continuous line from the entrance. Use the map's orientation rather than converting it into a remembered series of left/right turns.
- In the altered area, continue forward and then left. After the white fade, look for the lower-right stairs and the halo on Mellow.
- Descend and complete the four capsule/body minigames using the controls below.
- Continue until the hidden encounter concludes and you return to Misery Town. Finding the remote or entering the passage alone is not completion.
The achievement walkthrough ↗ describes the fade, stair and capsule landmarks. The all-endings guide ↗ identifies the bowling-pin-like figure as this route's completion check.
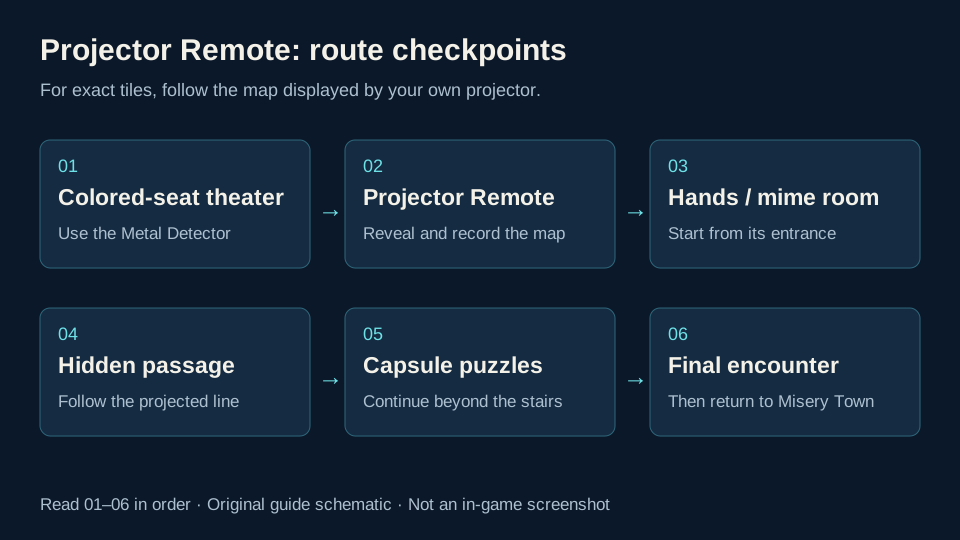
Complete the hidden route before resolving the Trapezist sequence and closing Misery Town if possible.
This route is one part of the wider secret chain. Use the Old Key guide for the fishing requirement and the Ending C walkthrough before making an irreversible ending choice.
Complete the four capsule puzzles
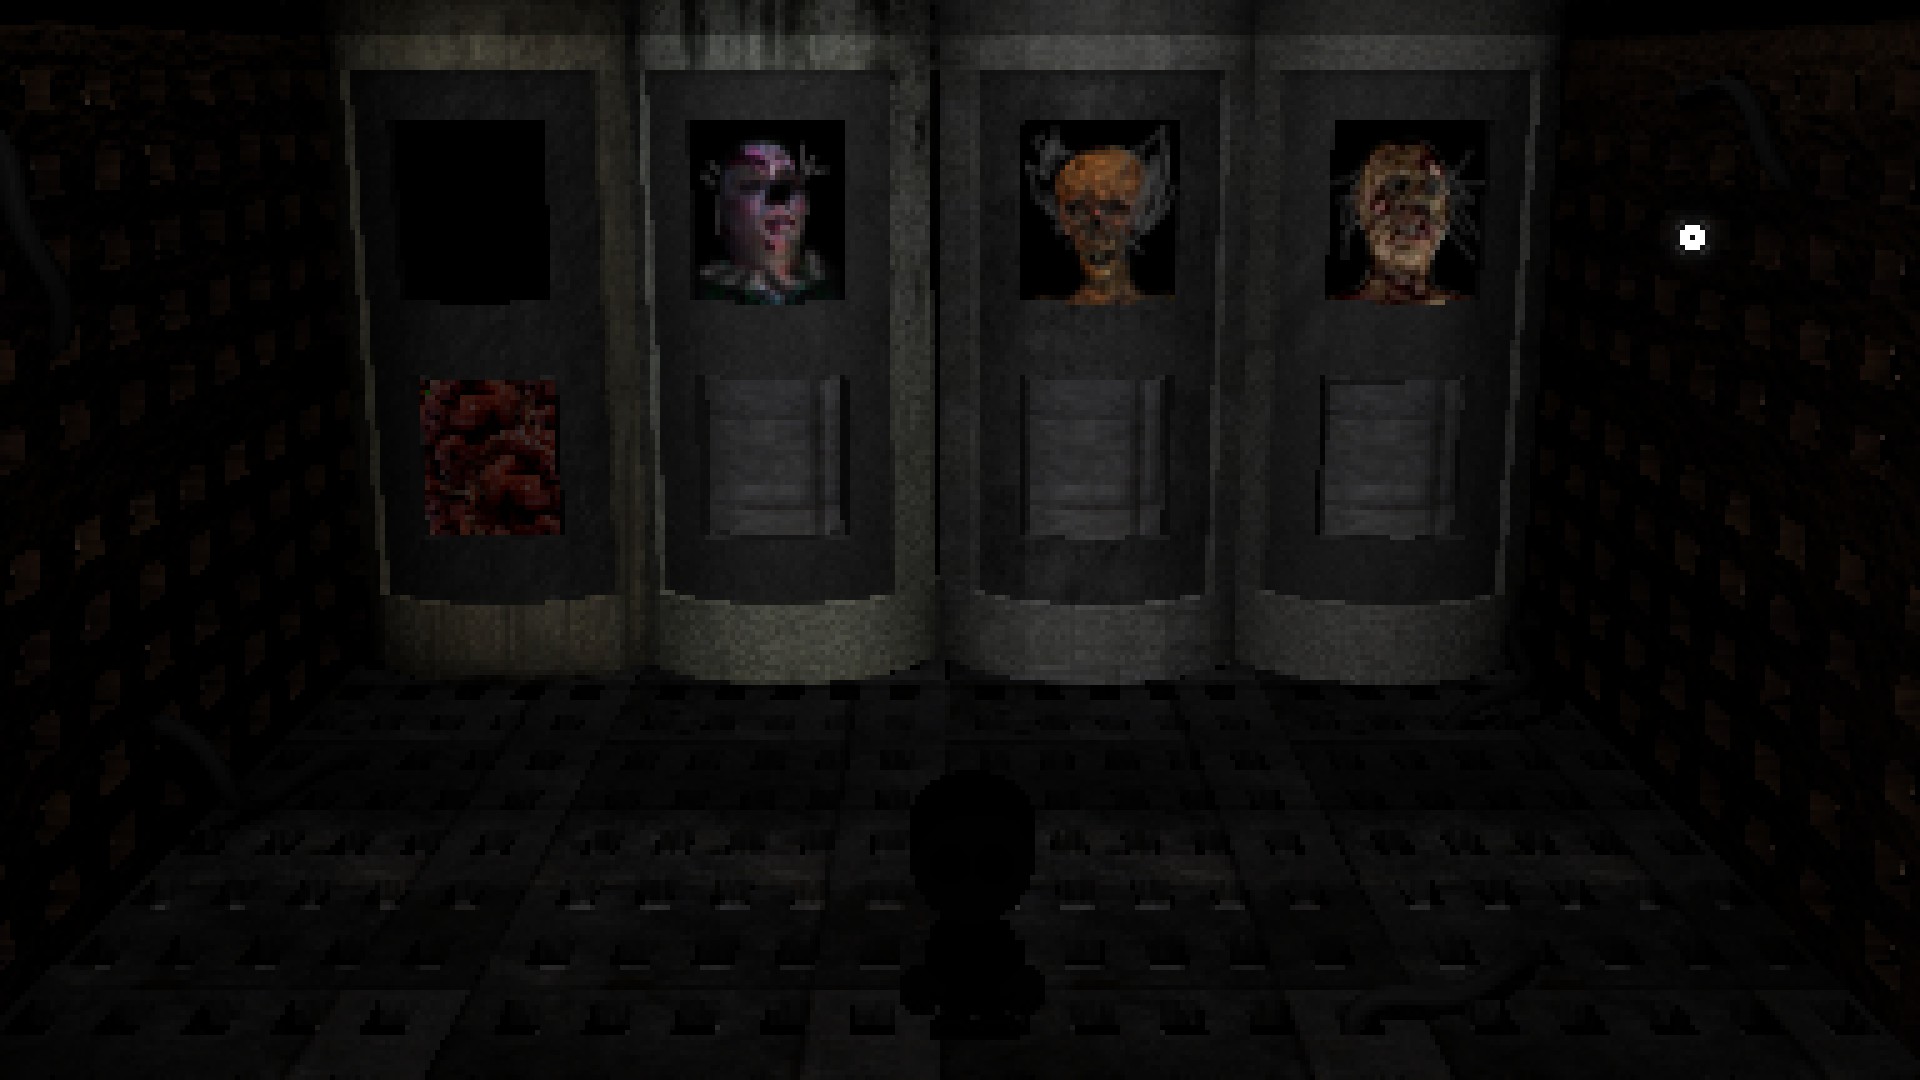
| Capsule position | Reported mouse action |
|---|---|
| Far right | Make a fast diagonal movement between the two black regions. |
| Second from right | Guide the pointer along the path without touching its walls. |
| Third from right | Follow the displayed path, avoiding the walls. |
| Far left | Follow its path without touching the walls. |
These controls are xixi's firsthand instructions ↗, checked November 5, 2026; we have not replayed them. After all four puzzles, continue the encounter until you return to Misery Town. Controller equivalents are not documented in this source.
Check each route milestone
| Checkpoint | What should be different |
|---|---|
| Remote recovered | The inventory contains the Projector Remote, not just the Metal Detector. |
| Projection activated | The screen shows the route you will follow in the Hands room. Record it before leaving. |
| Map followed | You reach the hidden passage instead of resetting to the entrance. |
| Hidden sequence finished | The bowling-pin-like encounter concludes and you return to Misery Town. |
Return to the three-area completion check after the final milestone. For the surrounding route, open the all-endings guide’s Misery Town section ↗.
If the route does not open
| Symptom | Next check |
|---|---|
| Detector finds nothing | Search inside the theater with eight colored seats; confirm the detector is selected. |
| Normal film still showing | Use the recovered remote on the projector/screen before recording the map. |
| Back at the mime-room entrance | Restart from the entrance and compare the next segment with your screenshot. Avoid resuming halfway from memory. |
| Unsure where to go after the passage | Check the white fade and lower-right stair landmark in the cited walkthrough. |
| Stuck in a capsule | Check the right-to-left capsule controls; the fast diagonal action belongs to the far-right capsule. |
| No final secret encounter | Continue past the capsule puzzles; collecting the remote is only the start. |
Use the gameplay map above for the path and the separate route diagram for location changes. If your projection differs, follow the image displayed by your game.
Sources used
Where this guide was checked
Facts are rewritten and organized for this guide. Official sources are preferred for game data; community guides are used for route details.
The projector screenshot shows the route. Capsule mouse controls follow xixi’s firsthand guide; controller inputs have not been verified.
- Neoseeker Chapter 2 ↗
- Steam Community Ending C guide ↗
- [[Kromer]] — I GOT ENDING C (firsthand player report) ↗
- Steam Community Misery Town hidden puzzle discussion ↗
- Steam achievement guide — hidden passage and capsule landmarks ↗
Does your game behave differently?
Include the heading, game version, platform and what you expected. Source review does not mean every route was replayed on every build.
Report a correction on GitHub ↗Opens a draft public issue for you to review and submit. A GitHub account is needed. Contact details